This post may contain affiliate links. Please see our disclosure policy.
It brought me so much joy to decorate Claire’s nursery last year. Full disclosure, I am still on Cloud 9! Decorating a girly nursery was a dream come true for me. It’s safe to say that I LOVE decorating a thing or two. This DIY cotton rose garland fits in with the design in such a fun way!
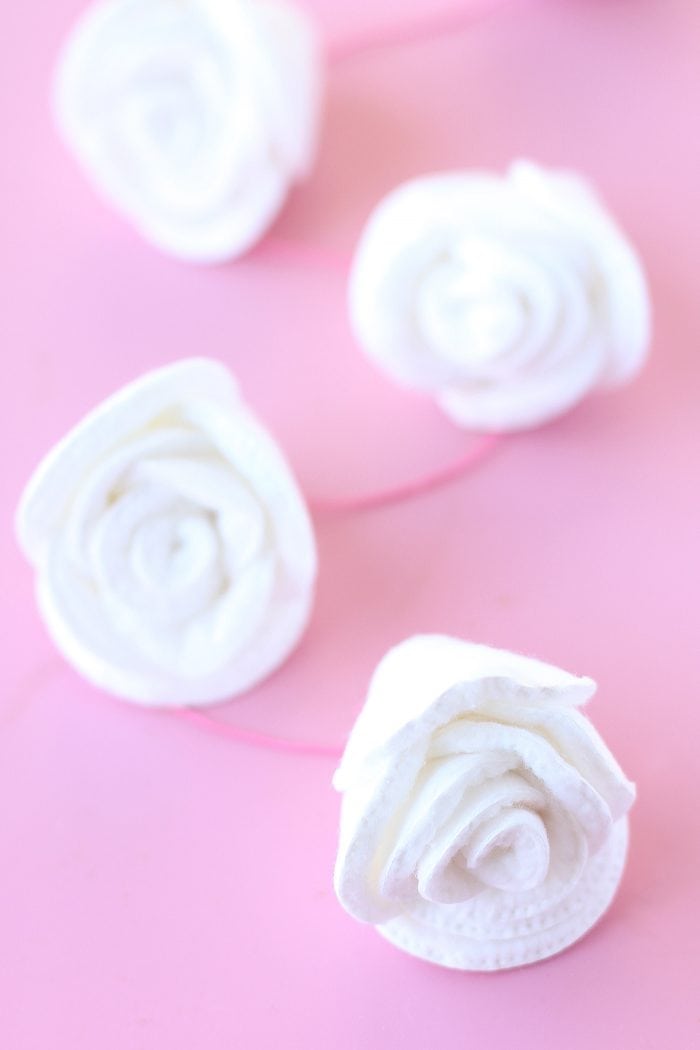
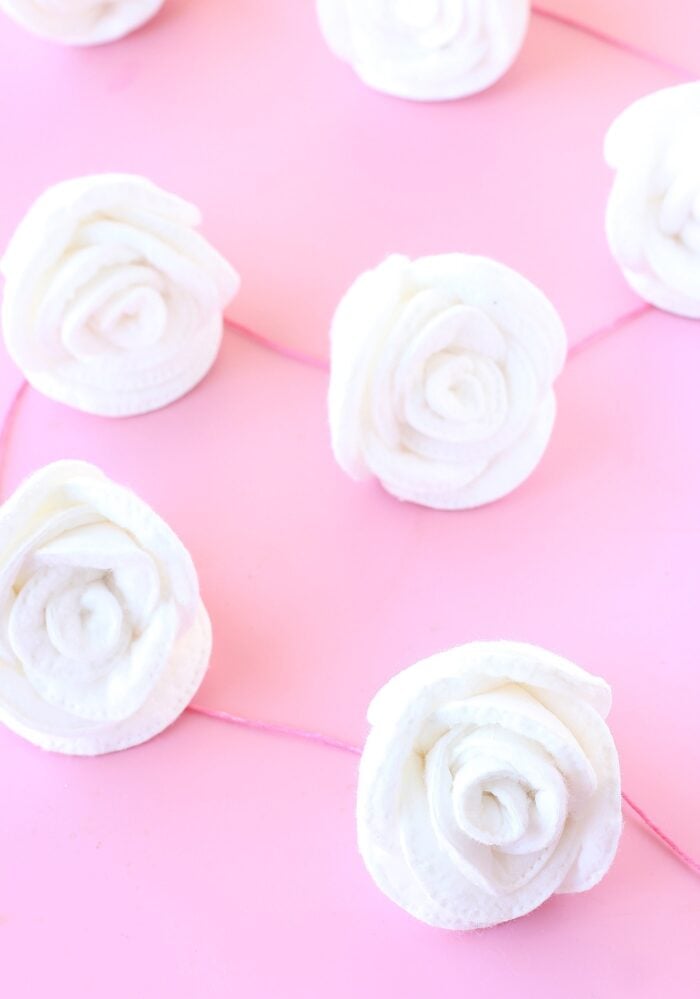
For Claire’s nursery, I chose a pink and white color theme (my favorite and hopefully Claire’s too). I wanted to have a minimalistic space with pops of color throughout the room. I’ve seen quite a few floral garlands trending on the internet these days, so I was excited to finally make one of my own. I used white cotton roses and allowed a pop of color to come out through the pink string. I love the idea of draping this DIY cotton rose garland over a dessert table or even a dresser!
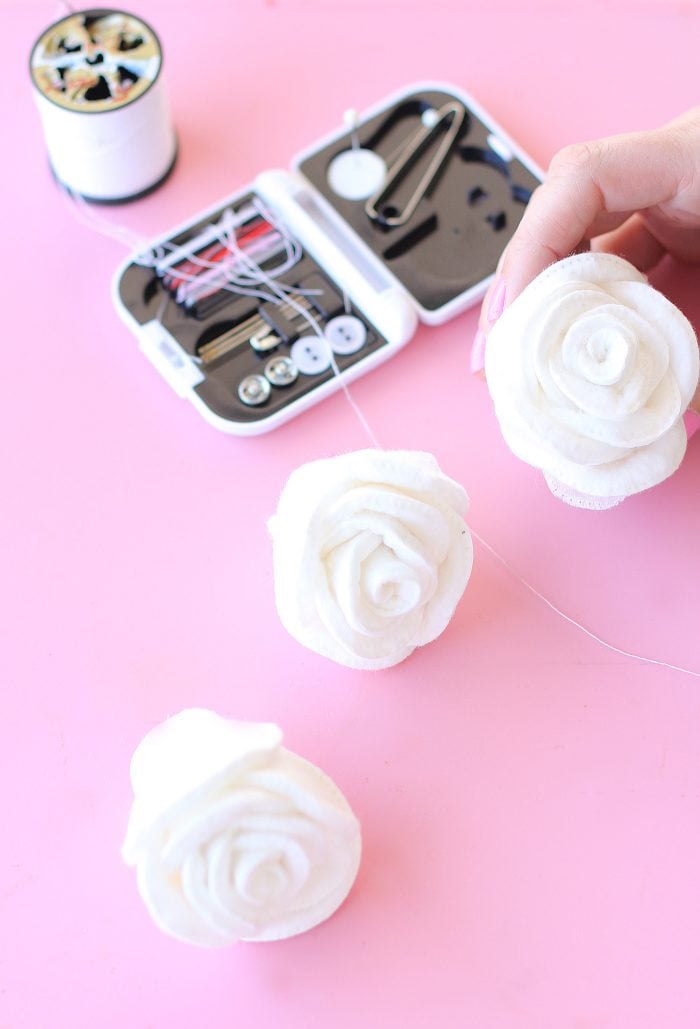
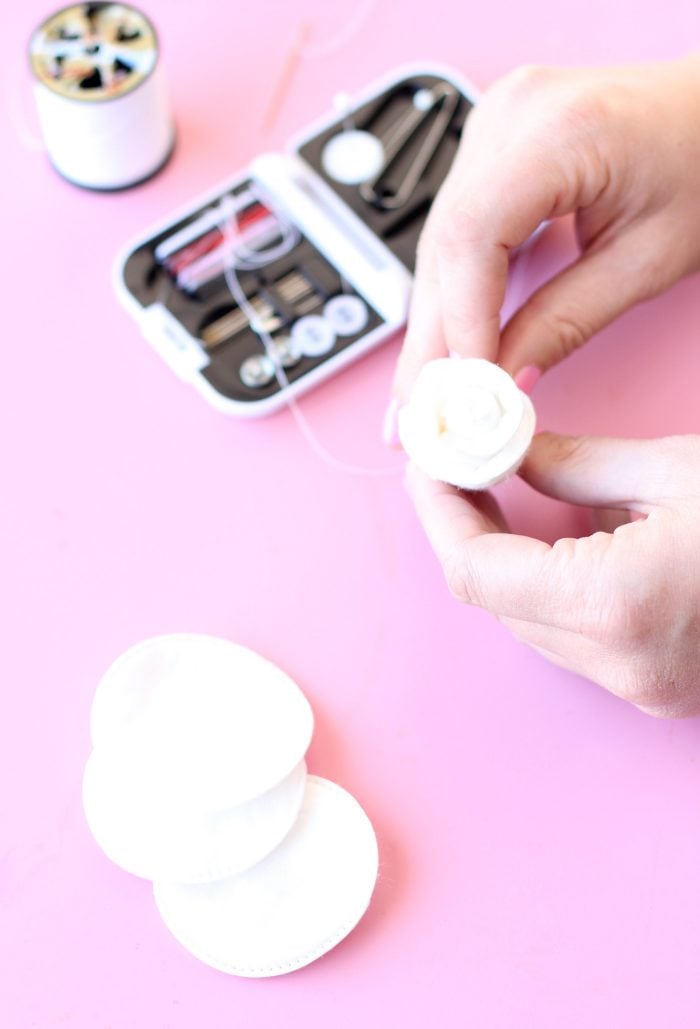
If a little sewing doesn’t intimidate you, then you will not believe how quick and simple this DIY project is to make. Just grab your Q-tips Beauty Rounds, sewing needle, thread and twine, and you’re ready to rock and roll!

DIY COTTON ROSE GARLAND
Materials:
- 2 packs Q-tips Beauty Rounds
- Sewing needle
- White thread
- String or twine (colored paint optional)
- Scissors
Instructions:
- Thread your needle with a long length of string – you may have to re-thread your needle while sewing your rose
- Take your first Beauty Round and roll it up tightly – this will be the center of your rose.
- To begin sewing, anchor your thread to your rolled-up cotton by sewing 1 stitch and then tying a knot.
- Wrap your thread around the roll a couple of times. Now it’s time for your first “petal”.
- Take a second Beauty Round and wrap it around the first cotton roll. Sew it onto the cotton roll, alternating between stitching it and simply wrapping the thread around the base of the cotton rounds.
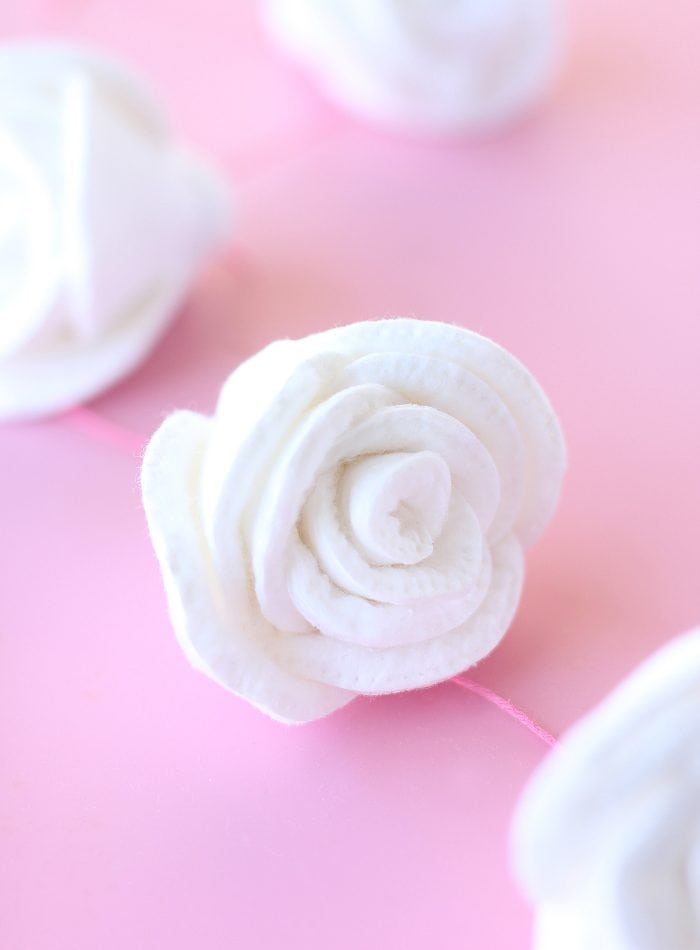
- Continue sewing Beauty Rounds onto your base by layering them on top of one another, stitching, and wrapping the thread around the cotton. Make sure your thread is tightly wrapped, or your rose might fall apart!
- Once you’ve sewn enough Beauty Rounds to create a full rose, tie off your thread with a knot, sewn into the cotton (Hint: insert your needle in and out, but don’t pull it tight yet! Bring your needle through the loop you’ve just created, wrapping it through the loop 3 times – now pull it tight. You’ll have a solid knot that will guarantee a long-lasting rose!)
- If painting is needed, paint your string and let dry.
- Attach each rose to the string by stitching through the string and the cotton, and tying a knot to pull everything together. Wrap your thread around the string and stitch through the back of the cotton rose a couple of times to secure everything together, tying a knot when you are done. Repeat with the rest of the roses.
- Once you are finished, hang your garland someplace special – above a bed, over a dresser, or around a door-frame – enjoy!