This post may contain affiliate links. Please see our disclosure policy.
Looking for an easy Halloween decoration to make yourself? This blue gingham pumpkin is my new favorite Halloween Decoration! If you’re looking for pumpkin painting ideas, this inspiration is for you!
Easy Halloween Decorations
With Halloween right around the corner, it’s time to get ready with some easy decorations! I’m all about taking the easy route with DIYs – who’s with me?! This DIY Gingham Pumpkin is seriously my new favorite decoration in the house. I’m obsessed! Carving and painting pumpkins every year is one of my absolute favorite fall traditions, and Charlie and Claire love it too! This year, I was all about decorating the front porch with this Gingham Pumpkin, and I am so excited to show you how to make it too!
DIY Halloween Decorations
If you know me, you know how much I LOVE gingham. I have been obsessed for years!! Seriously, I even have pink gingham wallpaper in my office, and I use it as inspiration for so many of my projects . Even Pinterest did a study on me and we talked ALL about my love for gingham. Truly, it’s a real obsession. ;) For every season and holiday, I love finding gingham decorations to match! But this year, I’m so excited to create my own decorations with this super simple DIY!
Pumpkin Ideas
Making this pumpkin is SUPER easy. All you need to do is get a fake white pumpkin, pencil, paint brush, and acrylic paints with whatever colors you want to make your gingham! Seriously, I am not the best painter, but this DIY pumpkin is easy and fun to make!
How to Paint a Pumpkin
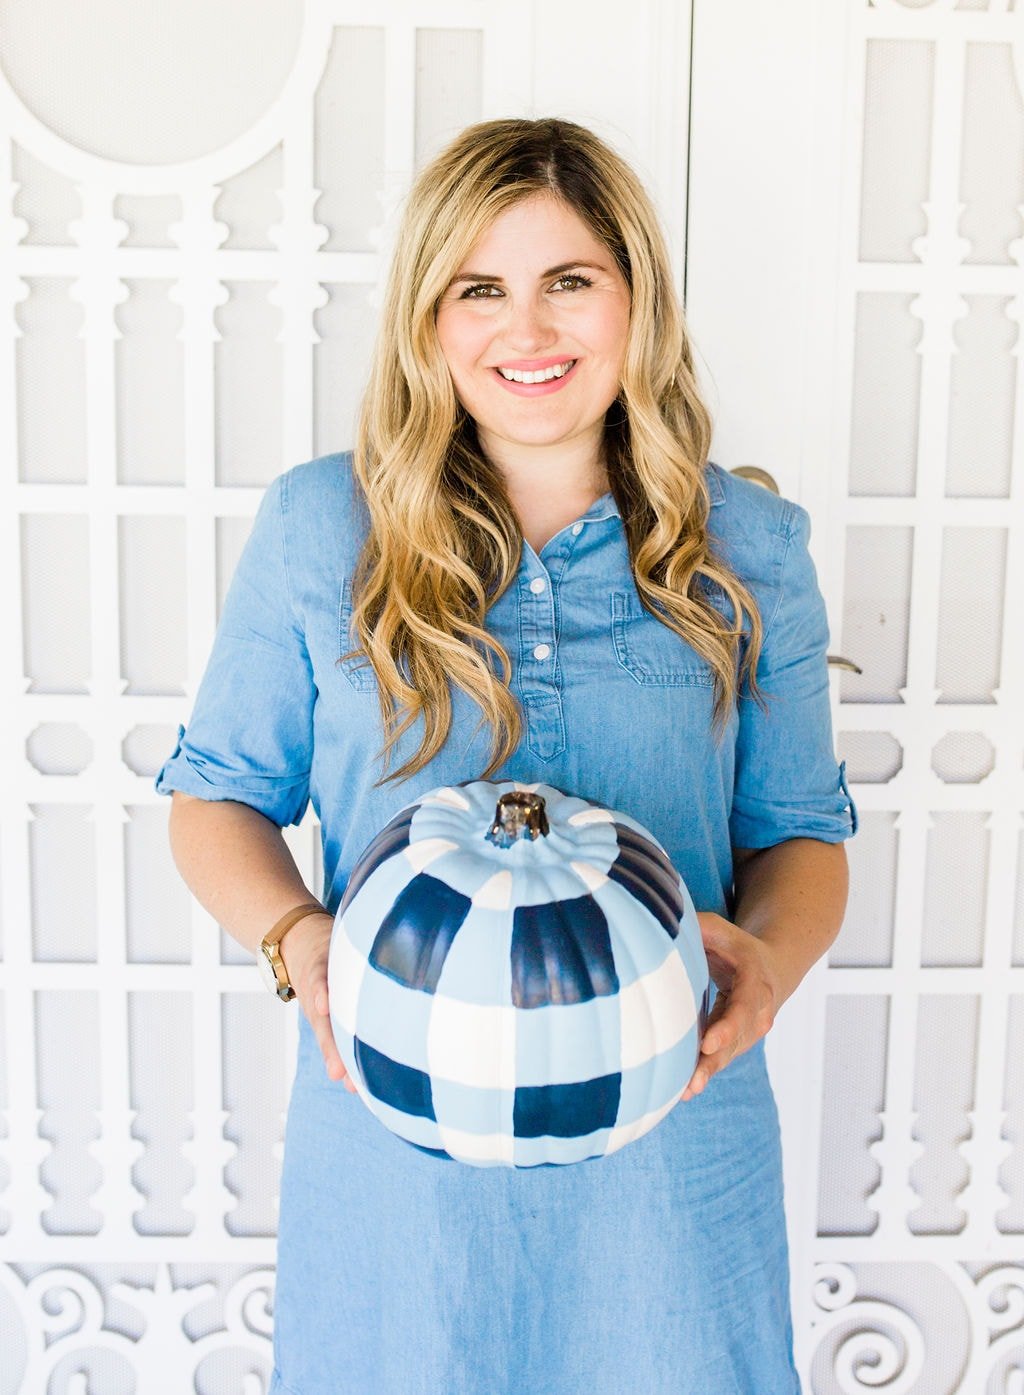
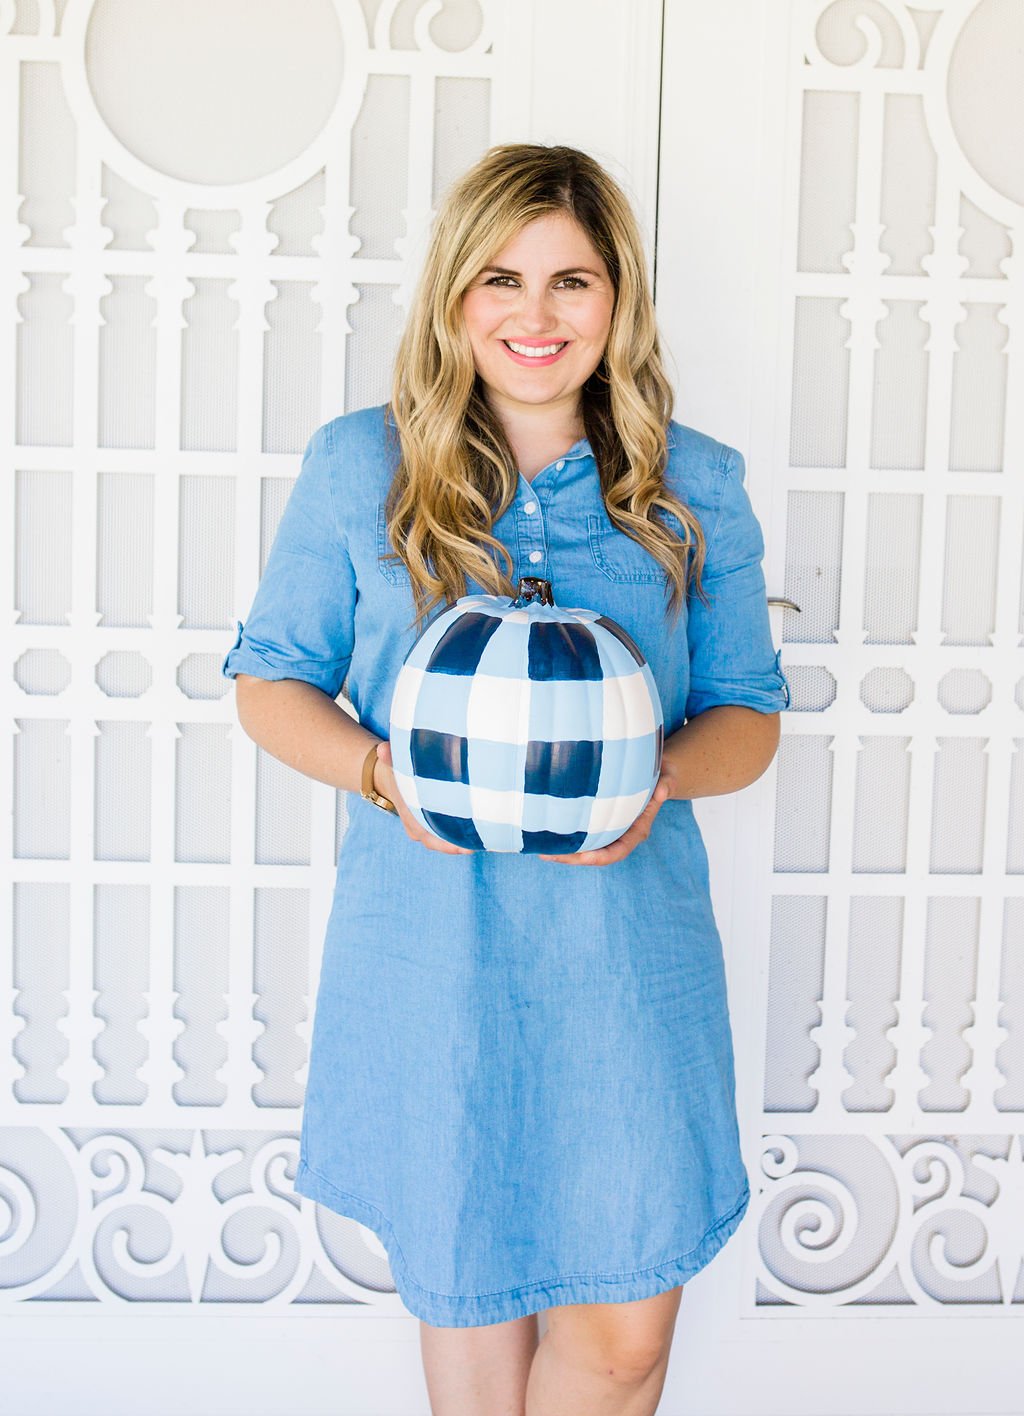
First, choose your base color, another color that is one or two shades lighter than your base, and white paint. I chose navy blue as my base, and got a light blue and white as my other colors to create the gingham pattern. Starting with your base color, paint vertical stripes around your pumpkin. You can use a pencil or the ridges of the pumpkin as a guide. Draw those lines vertically and make sure they are evenly spaced all around your pumpkin.
Pumpkin Painting Ideas
After the vertical lines are on your pumpkin, use the lighter color (for me a light blue) and paint horizontal stripes, making sure these stripes are the same width as your vertical stripes. Fill the horizontal stripes in and connect them to your vertical stripes. Now you have the outline of the gingham pattern on your pumpkin!
Pumpkin Decorating Ideas
Next, use the base color and the lighter color, for me it was the navy color and the light blue color, to fill in the squares where the vertical and horizontal stripes cross. Continue filling in all of the squares until all of the overlapping squares are painted. Then, use the light color and the white to fill in the squares where your horizontal stripes cross the vertical stripes. This is what creates the gingham pattern! Let the paint dry, and you have a super fun gingham pumpkin!
DIY Gingham Pumpkin
I love being able to decorate for each holiday, but what I love the most is being able to show my personality in my decorations. I have gingham everything, because I love the pattern so much! This is why I LOVED making this DIY gingham pumpkin. I was able to combine my favorite trend to create my new favorite Halloween decoration! What colors will you use for your gingham pumpkin? I’d love to see in the comments below!