This post may contain affiliate links. Please see our disclosure policy.
This donut tower is the easiest birthday “cake” ever! With absolutely no baking required and 2 ingredients, simply stack donuts and add sprinkles (and candles!) for a crazy-easy birthday centerpiece!

A Donut Tower Is the Perfect Alternative to a Traditional Birthday Cake!
Having shared party ideas in Martha Stewart Living and Woman’s Day, my focus is always on simple yet adorable, Pinterest-worthy solutions – like this donut birthday cake!
It’s cute, budget-friendly, requires no baking (huge win for busy parents!), and has become a reader favorite go-to for everything from birthday brunches to classroom celebrations.
The assembly of this donut tower cake takes minutes, kids love decorating, and you’ll be amazed how fast it vanishes!
What You’ll Need for a Donut Birthday Cake
This is one of those recipes where less really is more! You only need a few simple things:
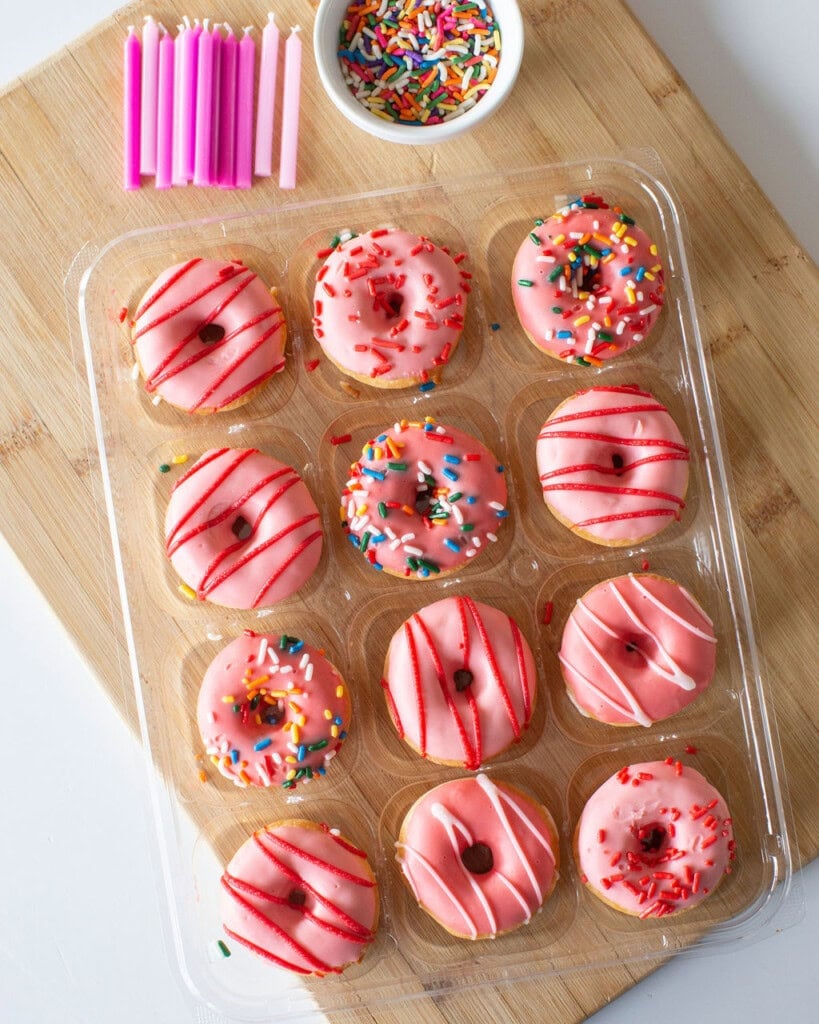
- Mini donuts (we used iced strawberry, but any flavor or color works!)
- Your favorite sprinkles (rainbow, pastel, or a mix)
- A cake stand or platter for stacking
- Birthday candles for that final festive touch
And with needing only 2 ingredients, you can quickly grab everything from your local grocery store, bakery, or donut shop. Feel free to mix and match donut flavors to match your party theme: chocolate glazed, powdered sugar, maple, or even fun seasonal donuts!
How to Make a Birthday Donut Cake
This couldn’t be easier! Here’s how we stacked our donut tower:
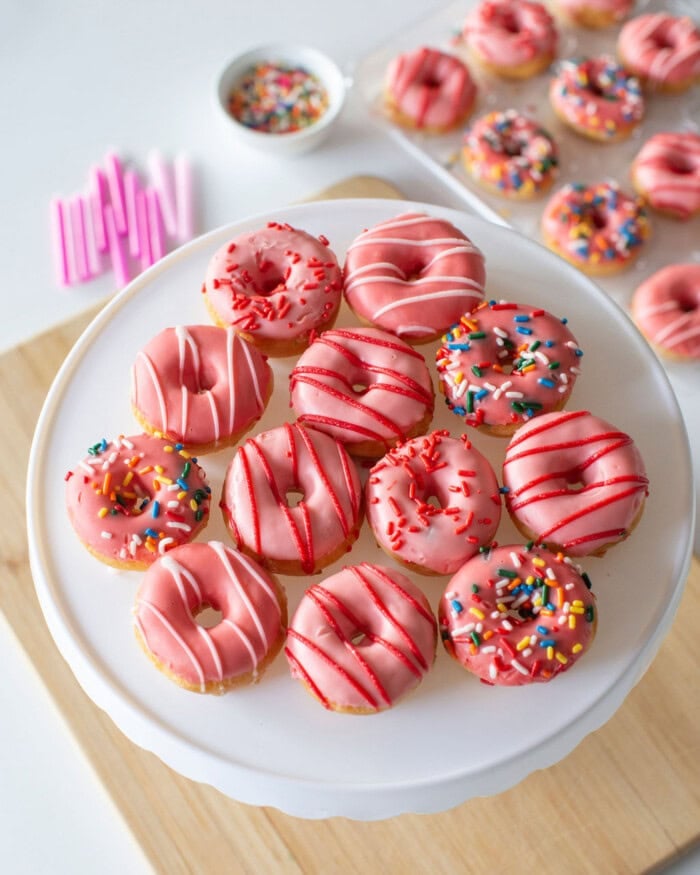
- Start with the base layer – Place 12 mini donuts in a circle on your cake stand.
- Add a second layer – Stack 7 more donuts right on top, centering them a bit inward to create that tiered look.
- Add the third layer – Use 4 mini donuts for this layer.
- Top it off – Place 1 mini donut right in the center as the “cake topper.”
- Decorate – Sprinkle generously and add candles on top!
That’s it! No baking, no frosting mess, and you can make it in under 10 minutes.

Donut Tower Variations
One of the best parts about making a donut cake is how easy it is to customize! Here are a few fun ideas:
- Color-themed tower: Use matching sprinkle colors for a more polished look (think pink and gold or a pastel rainbow).
- Add donut holes – Use donuts to fill in spaces or create mini towers for individual servings!
- Glaze it up – Drizzle a little homemade glaze icing or chocolate syrup over the top for a glossy finish.
- Go big – Use full-sized donuts instead of minis for a taller, wow-worthy cake!
How to Decorate a Donut Cake
This is where the real fun begins, especially if the kids are helping! I love creating a decorating station with various sprinkles, edible glitter, mini bunting flags, and adorable candles. For an extra touch, consider tying a ribbon around the base of the cake stand.
Elevate your cake stand by adding a personalized cake topper with the birthday child’s name or a number candle indicating their age. It’s these small details that make celebrations truly special!
Whether you’re hosting a birthday brunch, organizing a classroom celebration, or simply looking for an alternative to traditional cake, this donut cake tower is the perfect sweet solution. It’s simple, cute, and completely celebration-worthy – exactly my style!
More Favorites From Best Friends for Frosting
Birthday Donut Cake

Equipment
- cake stand
- birthday candles
Ingredients
- 2 Packs, Freshness Guaranteed Iced Strawberry Mini Donuts, 8 oz, 12 Count (purchased at Walmart)
- Your favorite sprinkles (optional)
Instructions
- On a cake stand build the base of the donut cake. We used 12 mini donuts.

- Add a second layer. We used 7 donuts.
- Add a third layer. We used 4 donuts. Then place a single donut on top of the third layer.
- Add birthday candles to the top of the donut cake.


Order Now!
Get my new cookbook!

100 Super-Easy Recipes for Holidays and Every Day! Make Memories and Start Traditions the Easy Way!


Looks beautiful and delicious! I do some prep ahead meals but not that many. I think this is very worthwhile and nice to know you always have a meal on hand!
Wow that looks delicious. I love spaghetti squash. I know what you mean about exploding spaghetti squashes — I cooked one in my microwave and it exploded, blew the door open, and just missed my baby in the high chair! I had poked the skin, but don’t think I stabbed it deep enough. I had to get a new microwave – it was totally destroyed. So I always cut them in half now…