Fringe Letter Pinata

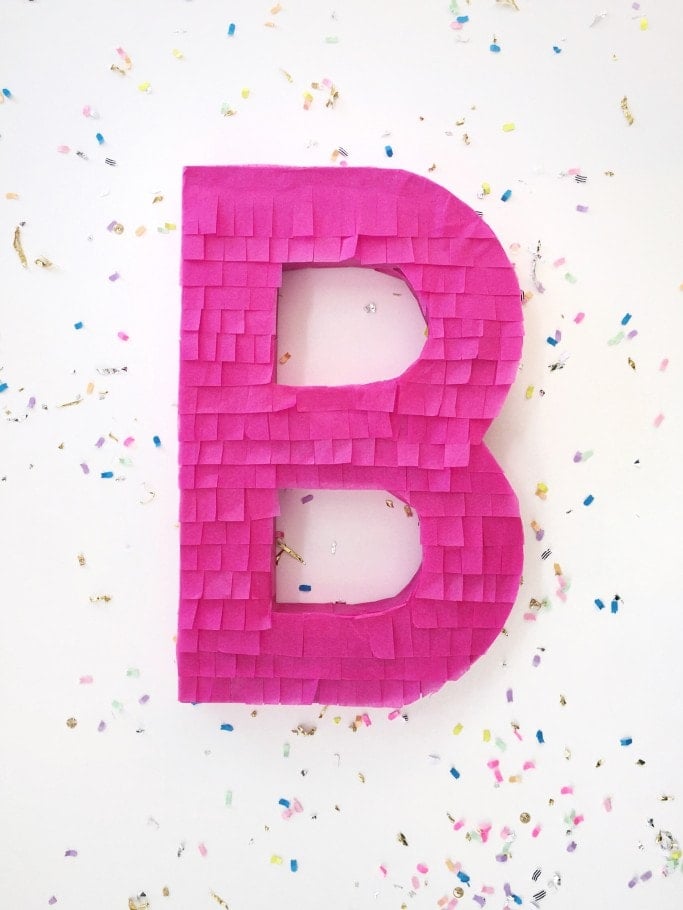
Whether you’re looking to upgrade your party décor or adding some party to your everyday life, this simple piñata is just what you need. With only four materials required, this tutorial from Brittany Morgan at Glitter and Bold is simple and fun for everyone!

![]()
-Tissue paper or mylar, cut into long strips approximately 2 ½ inches wide
-Double-sided tape
-Scissors
-Cardboard letter, number, or symbol of your choice (can be found at any craft store)

![]()
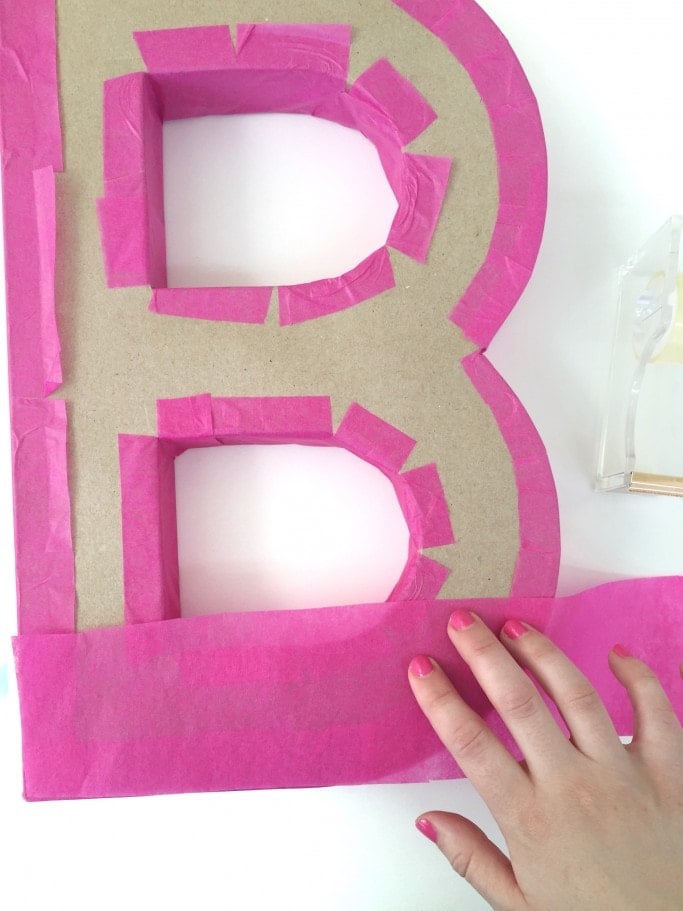
1. Use the double-sided tape to secure a strip of tissue paper all around the letter, centering the strip over the edge so that a small portion hangs off of either side.
2. Cut small slits along each edge. For flat edges, you can leave these long. For curved edges, the smaller, the better.

3. Turn over each flap and secure with tape so that all of the tissue paper lays flat.
4. Repeat on any inner portions of the letter.

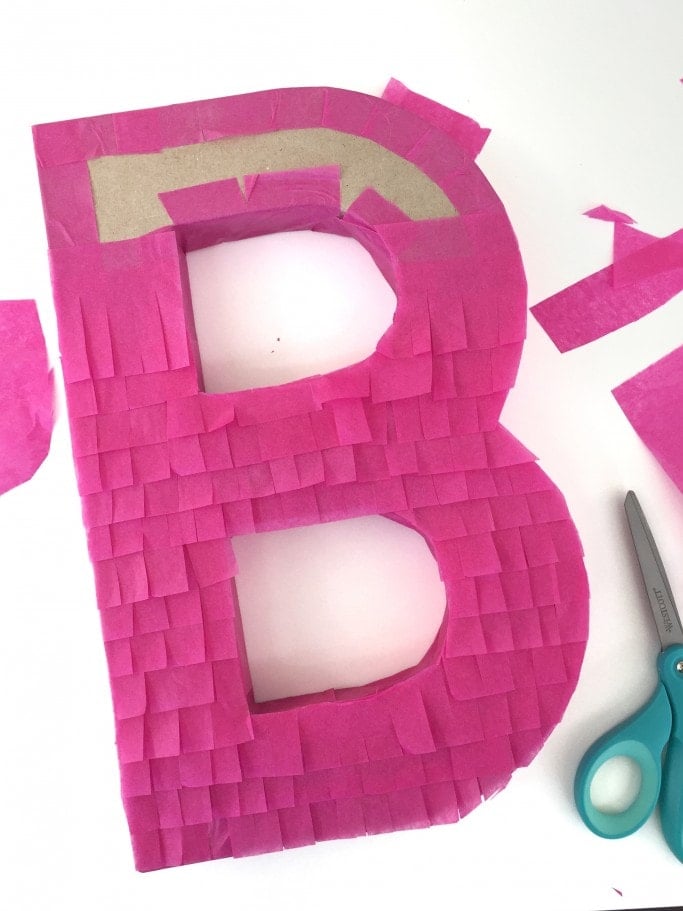
5. Once all the edges are covered and taped down, take 1 strip of paper and line it up with the bottom edge of your letter. Secure the strip with tape along the top. You do not need to be precise, as each strip will continue to get covered by the following piece.
6. Trim the tissue paper to make it flush with all edges, and then cut fringe-like slits along the bottom of the piece. Make sure each cut goes up at least half way to the top of the piece. Add the next piece about half an inch above the first piece. Again, trim and cut slits. Repeat this process until you reach the top of the letter.
Some tips to remember:
– The tape is your friend! Feel free to use small pieces throughout the letter to tape down unruly fringe or to keep stranger, curved pieces from falling off too easily.
– Don’t be afraid to mix it up! Try a different combination of colors, or even colors and metallic mylar. You’re only limited by your imagination!
– The larger the letter, the bigger the pieces and vice versa.


